There is an art to transplanting tomatoes, and mastering the steps is really very simple. Transplanting is so much more than digging a hole, plopping your plant inside, and hoping for the best. It’s about nurturing your plants through each step with care and a watchful eye. Ready to learn the secrets of successful tomato transplanting and boost your garden’s productivity? Let’s dive in together!

Below you’ll find the 7 steps I use for transplanting tomatoes each year. I can tell you that after a lot of years of trial and error, I’ve found these to be the most important actions and considerations you can take. But before we dive into those steps, first things first….
Phoenix Gardeners: We can have a fall tomato season! You have two options:
- Start from seed in June inside so that your plants are ready to go outside around August 15th.
- Find a local nursery center nursery that caters to this unusual season – most other parts of the country don’t have this advantage!
PKG Tip: When placing these young plants outside when it’s still very hot, you will need to keep them shaded until our average temperatures are 75 to 80°.
Remember, young healthy transplants yield greater abundance compared to older, stressed transplants every time.
Step 1: Harden Off Your Tomato Plants
Up until now, your tomato seedlings have lived in a very sheltered environment. Think perfect indoor or greenhouse temperatures, ideal light exposure, and only the most gentle of breezes. This is a far cry from what your plants will experience outside.
To harden off the plants, start by setting your tomato seedlings in a protected shady area for about an hour. The next day, put them in the same location, but for 2 hours. The day after that, you can let them experience a little bit of gentle morning sun. Gradually increase sun exposure and time outside each day. The idea is to introduce new things in manageable chunks that allow the plant to adjust in small ways each day.
*A note on wind. It’s important to protect your young tomatoes from wind in the first week of hardening off.
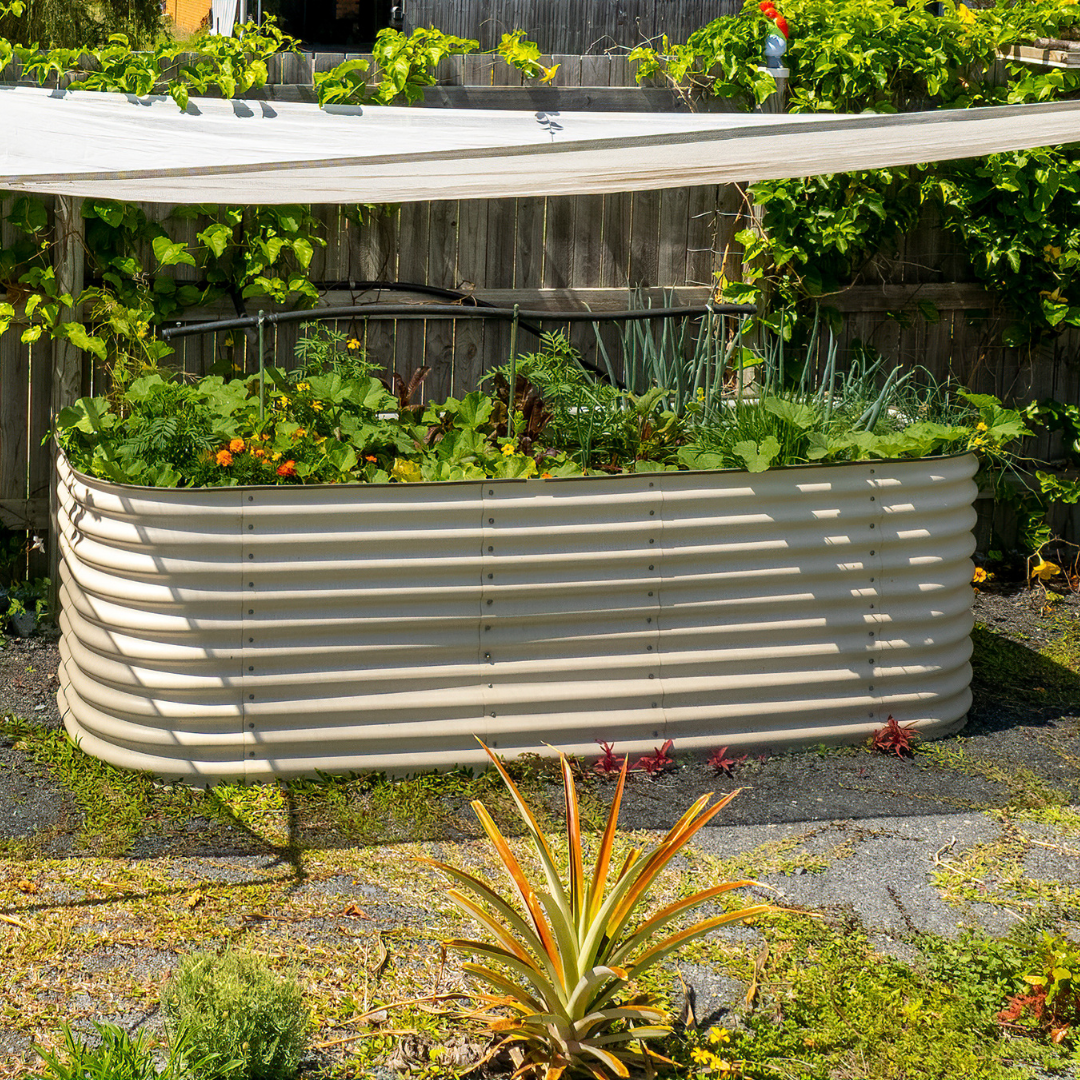
Step 2: Location, Soil, and Space
Before you think about transplanting tomatoes this season, take the time to find the location where they will truly thrive. Factors to take into consideration are light, healthy soil, and room to grow.
- Sun Exposure: Tomatoes prefer to receive 8-10 hours of sunlight each day for maximum fruit production. In our traditionnally sunny and hot September, I recommend using at least 50% shade cloth for all of your Summer/Fall planting.
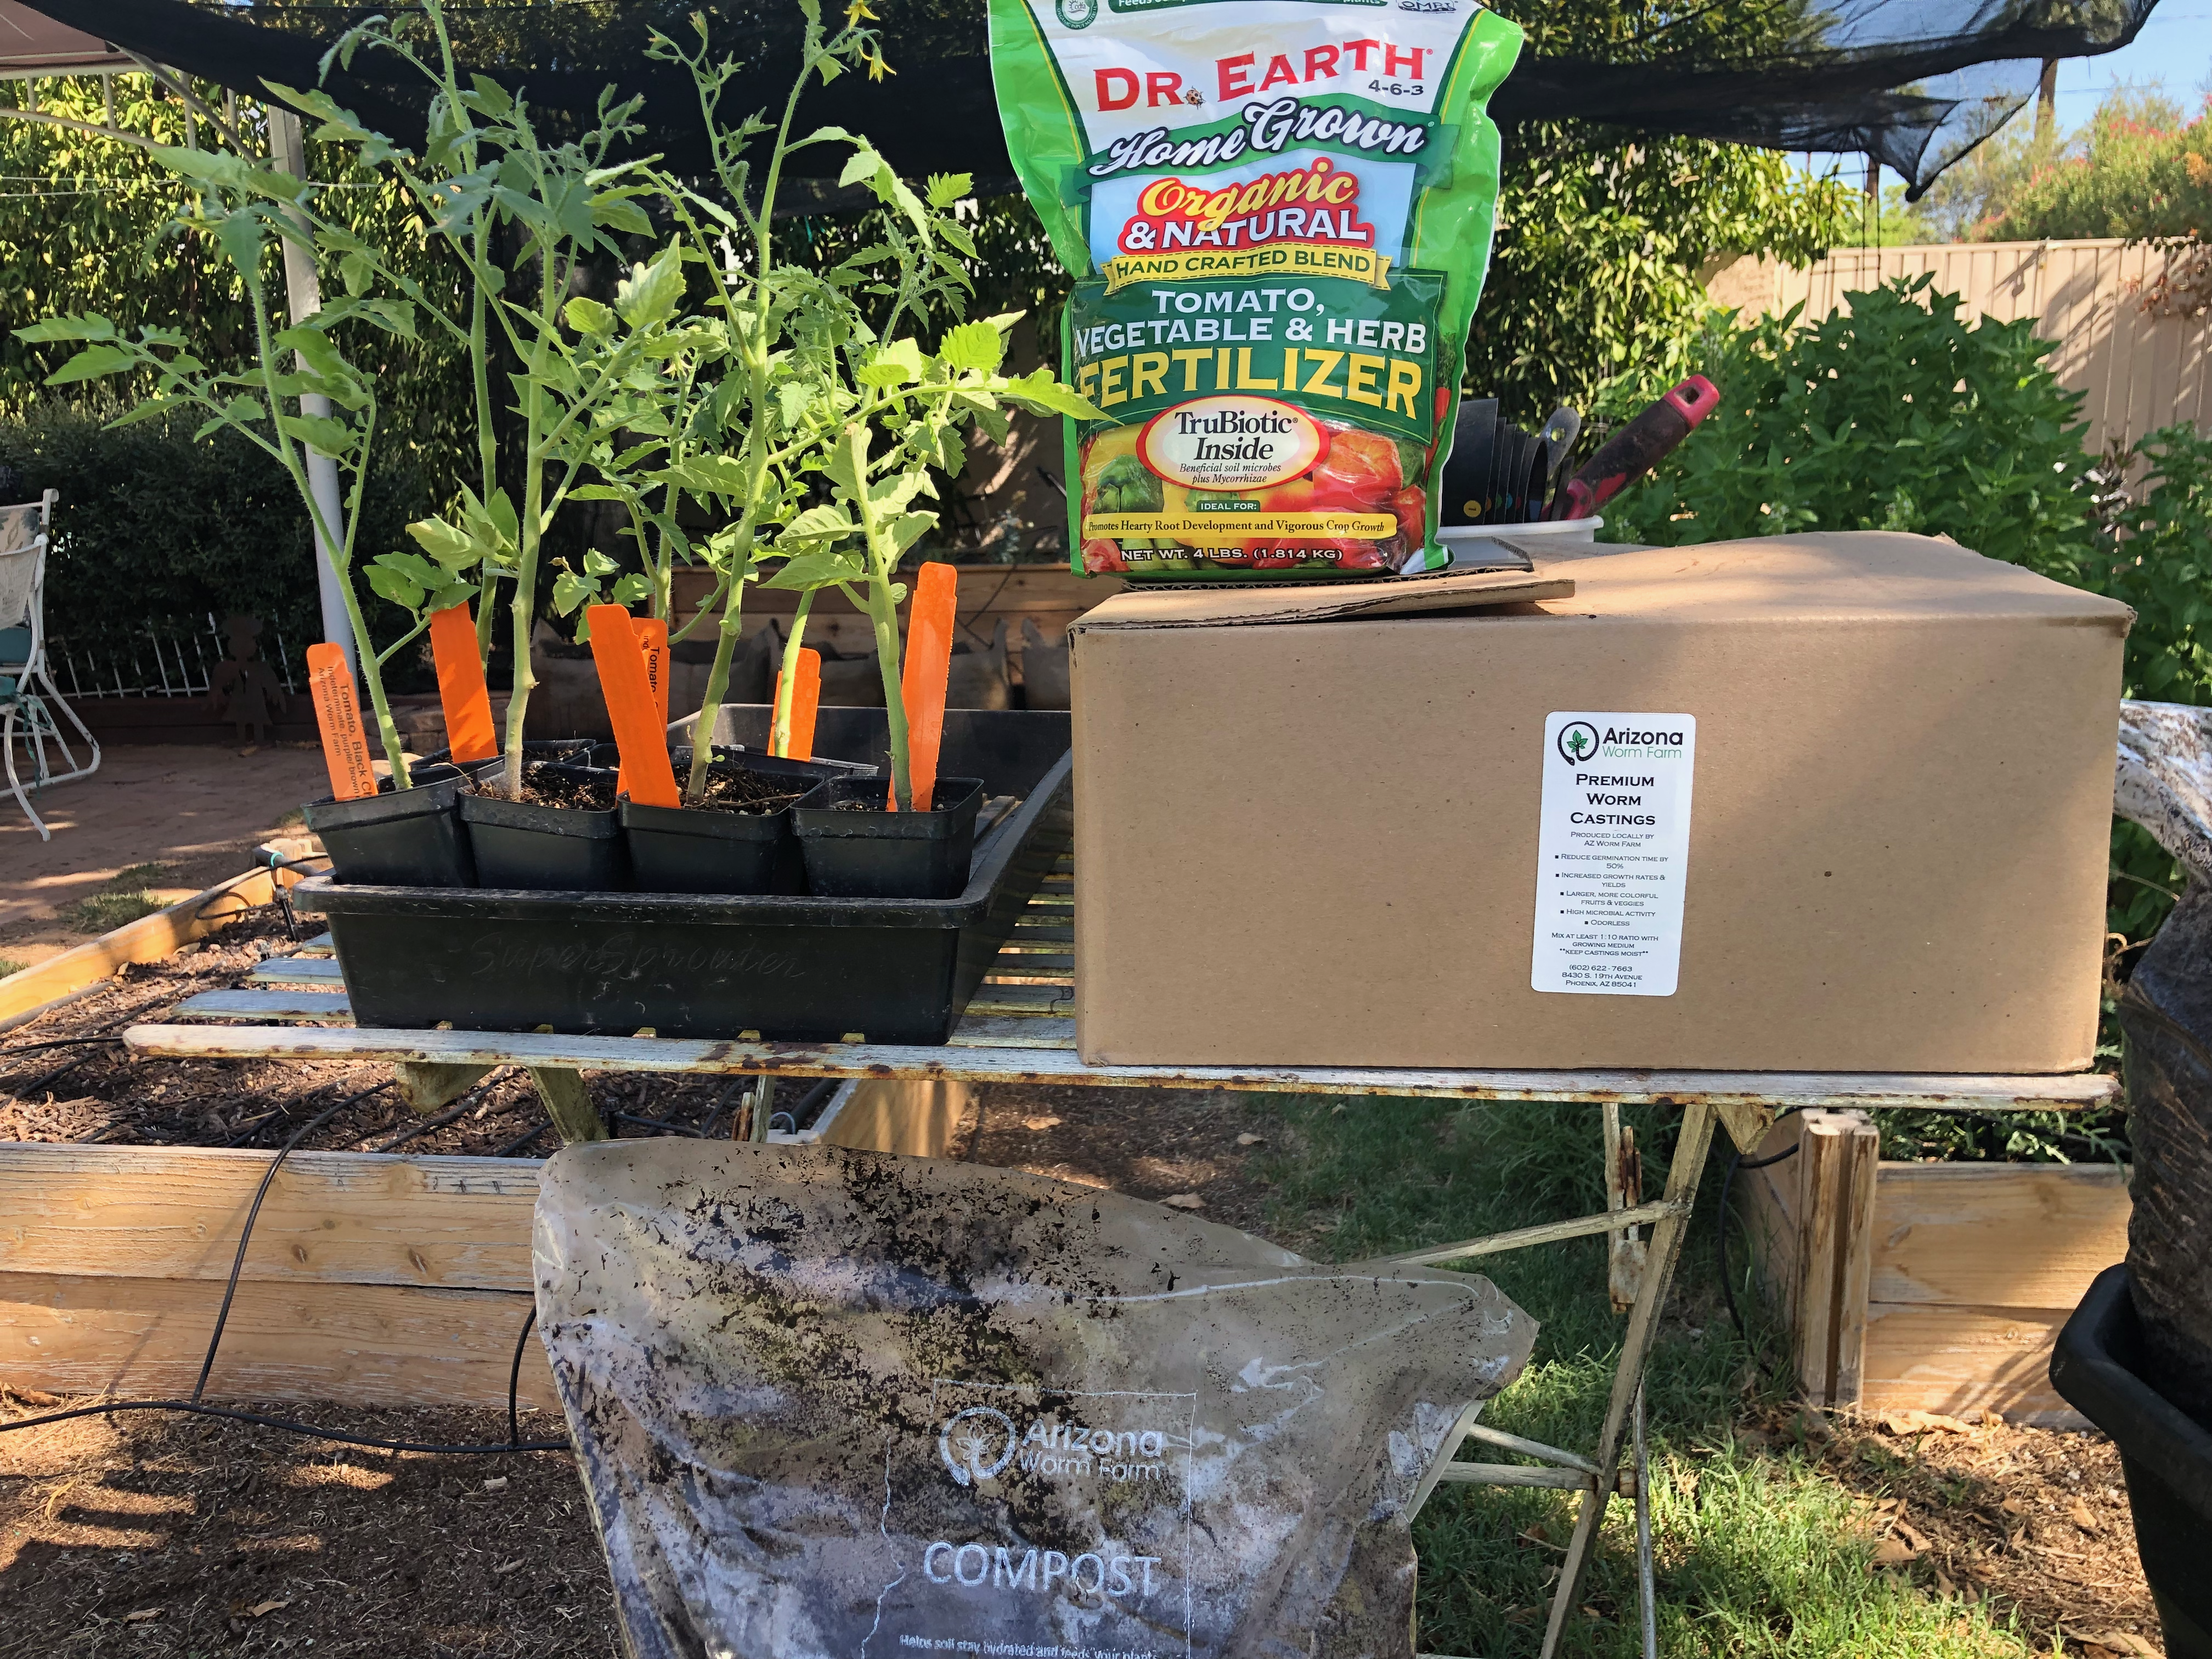
- Prepare and Amend Your Soil: Tomatoes grow well in well-draining soil rich in nutrients and organic matter. Here I am using raised bed mix, and a 2 to 3 inch layer of compost and worm castings along with a nice balanced organic fertilizer. In the future follow the directions on your fertilizer of choice, but tomatoes are very heavy theaters so don’t skip this part.
- Adequate Space: If you’re planting tomatoes in a bed or row, keep a distance of 30-45 inches between each seedling. This season I have my tomatoes in container bags so I can easily adjust their spacing. Tomatoes really like their space. Although your seedling is small and sweet now, it will quickly grow into a large sprawling plant in no time.
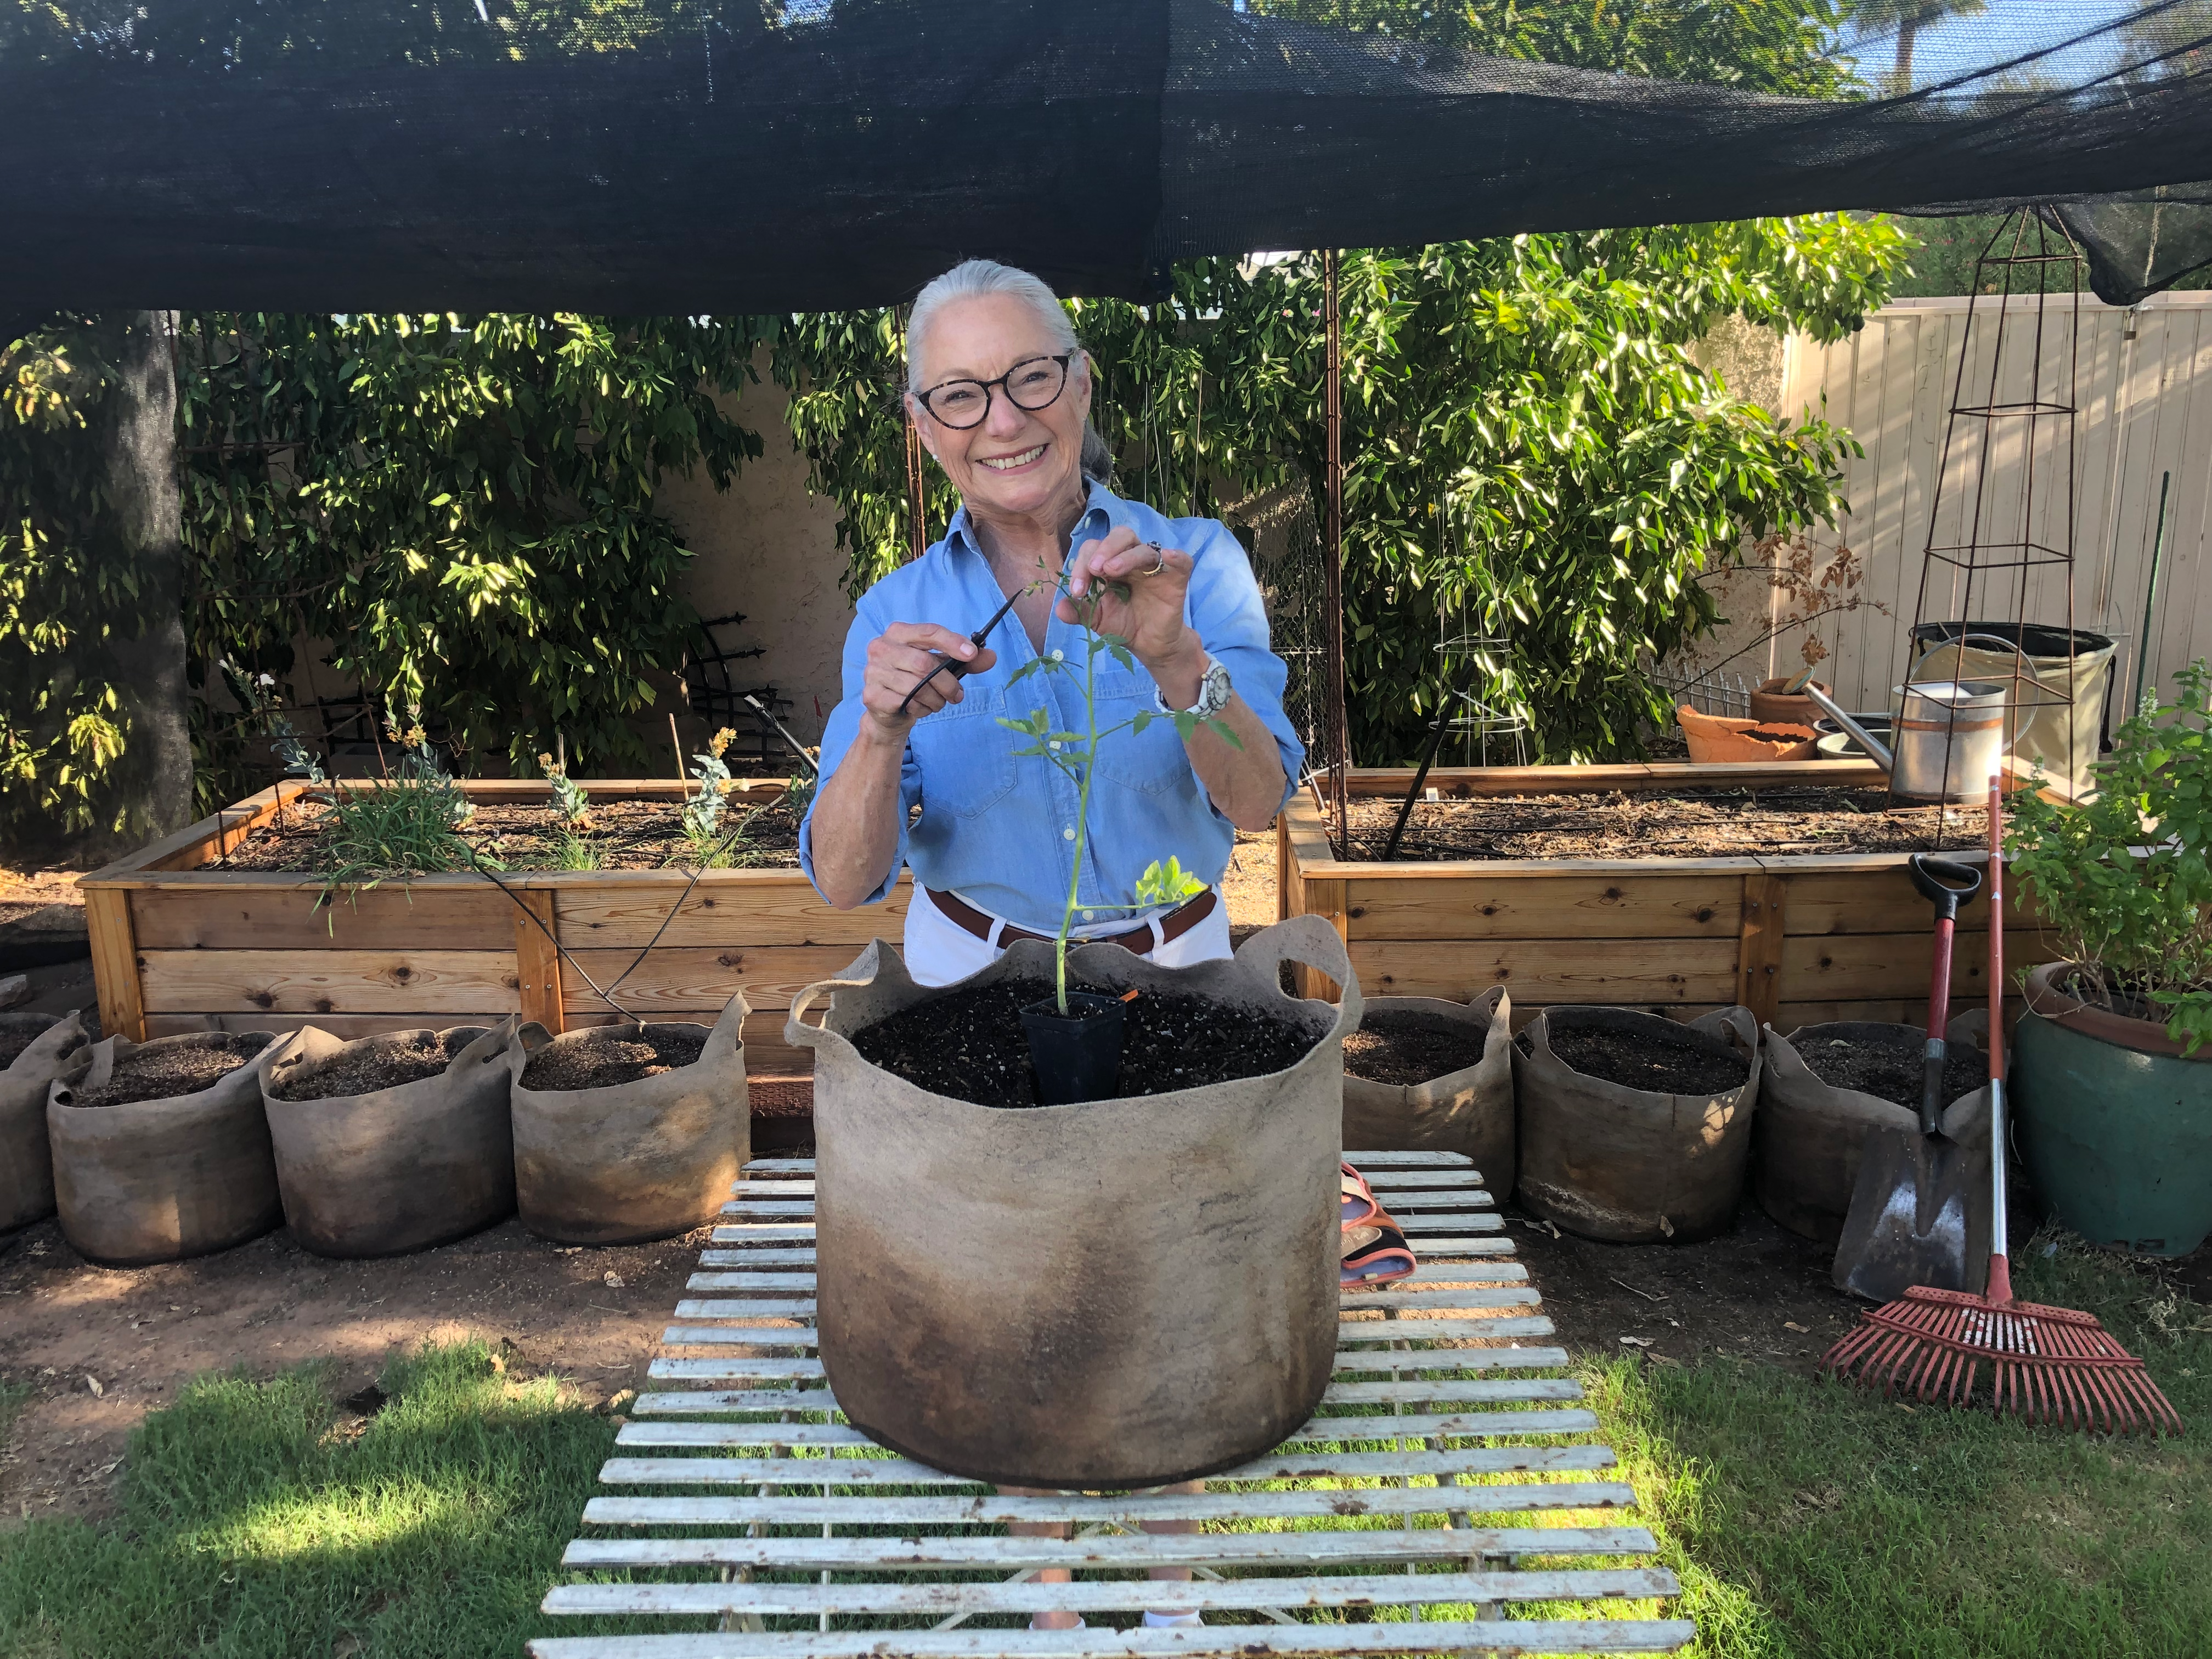
Step 3: Gently Prune Your Seedlings
Just prior to transplanting your tomato seedlings, take a few minutes to gently prune and clean up the plant. I always trim off at least one set of leaves to allow me to bury the plant a little deeper in the ground. If your seedlings are a bit on the tall side, feel free to trim off 1-3 sets of leaves, but leave 2-3 sets intact above the soil line.
Although it goes against all our basic instincts, this is also a time to pinch off any flowers that may have formed on your young seedling. At this stage, your tomato transplant needs to put all its energy into overall growth, root expansion, and foliage generation. For the first 30 to 45 days we want root development, and the flowers are not viable in hundred degree temperatures. I assure you, your tomatoes will start to flower again in no time.
Step 4: Dig a Hole and Bury the Stem
Start by digging a hole about twice as large as the pot your tomatoes are currently in. Your seedlings are likely in flexible nursery pots at this stage, which makes transplanting pretty easy. Gently squeeze the sides of the pot to loosen the soil. Tilt the pot sideways, gently grip the base of the stem, and slide it out. You shouldn’t feel any resistance here; the plant should slide out quite easily. If you do feel resistance, STOP. Try watering the soil to moisten it more and try again.
Tomatoes are pretty unique in the vegetable world because they can grow roots from any part of their stem that is buried underground. Transplanting tomatoes is a really excellent opportunity to help a seedling that may look a bit tall or ‘scraggly’ grow into a healthy plant with a strong root system.
Step 5: It’s time for mulch!
Mulch is a must as it keeps the soil cool during excessive heat, helps the soil retain moisture (there won’t be as much evaporation on the surface during hot days), prevents water splash back (which can spread fungal disease), and discourages weeds.
Mulch options include straw, grass clippings, wood chips, eggshells, and crushed up leaves. These are all things you can repurpose from your kitchen and yard (if it hasn’t been treated with herbicide/pesticide). Aim to apply a layer 2-3” thick for maximum benefit.
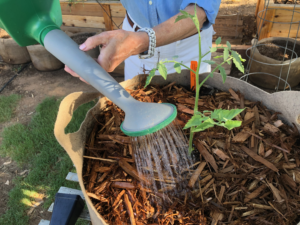
Step 6: Water Generously
Young seedlings need a lot of water in the beginning stages since their root system is still quite undeveloped. Properly watering your tomatoes at the time of transplant is one of your best tools to ensure your plant grows healthy and strong. Aim to water slowly and deeply once a day for the first two weeks.
PKG Tip: Water the base of the plants, not over head. By focusing your watering efforts directly at the base, you can effectively prevent fungal diseases that thrive on moist foliage. This is especially important because tomato plants are susceptible to blights and molds when their leaves remain wet. Additionally, watering at the base encourages deep root growth.

Step 7: Support Your Tomato Plants
When transplanting tomatoes, set up tomato stakes or cages to accustom your plants to grow vertically. You may not know this, but tomato plants will grow happily along the ground if you let them. Unfortunately, this can invite fungal diseases, give pests and rodents easy access to the fruit, and doesn’t encourage the plant to maximize fruit yield.
My Final Thoughts on Transplanting Tomatoes
Remember: Maturity and harvest times vary by the variety of tomatoes, so be sure to follow your seed packet or the card in the transplants. In addition, if you have sneaky birds in your yard remember you don’t have to wait for the tomato to riper on the vine. Once they begin to color, they can ripen on the kitchen counter.
Although your tomatoes are now transplanted in their cozy garden, but they will still need attention from you. Focus on proper watering habits, watch for issues with pests and disease, and get ready to harvest your fruit early and often.
Wishing you a Happy Planting Season!
Vickie
P.S. Be sure sign up for our seasonal newsletter HERE or text your email address to 602-722-7971.
And for more low desert garden tips, don’t forget to follow me on Instagram and Facebook!